 — April 9, 2022
Change Mac Display Scaling with a Keyboard Shortcut (Karabiner + displayplacer)
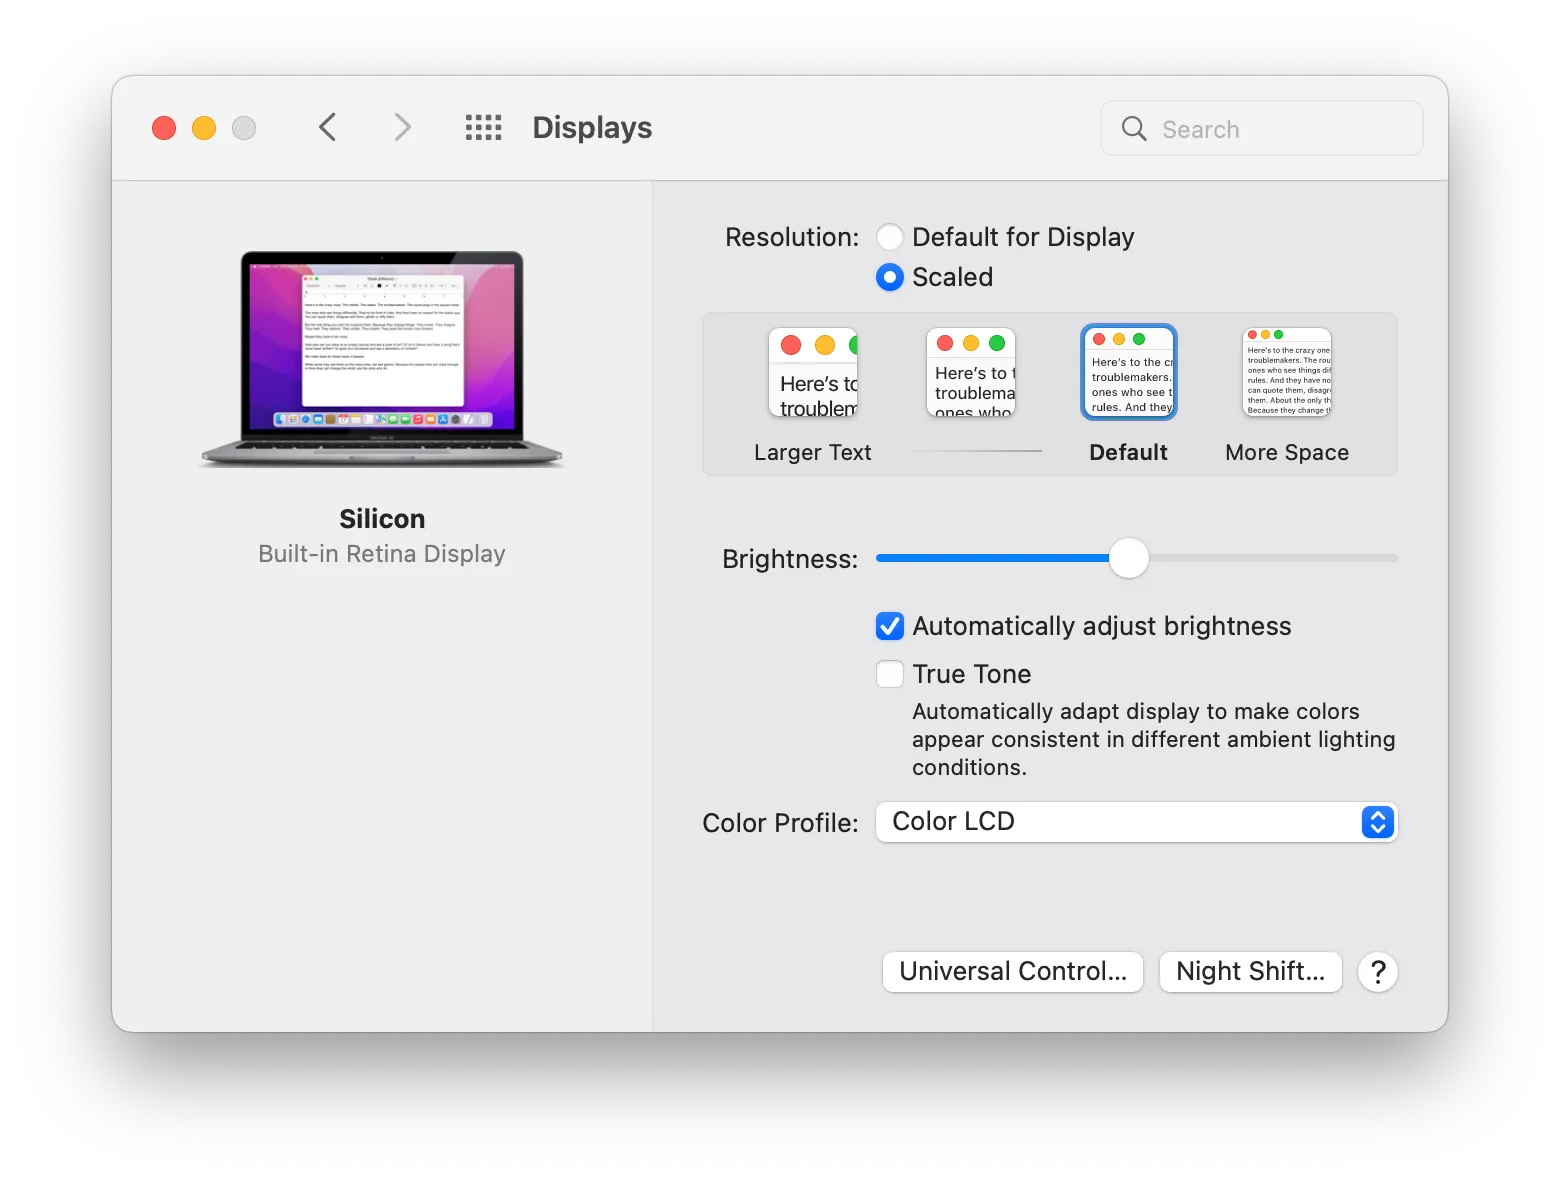
I change display scaling on my MacBook fairly often. The default scaling is suitable for most tasks, but sometimes I need more space, for example, during code reviews, or when working with two windows side by side. Yet opening preferences to find this particular option each time was a bit tedious. I figured this could be automated, it was just a matter of the right tools.
At first, I tried to change preferences using AppleScript. Turns out it is possible by opening preferences window and automating the exact sequence of clicks. It takes too long though, and doesn’t sound like a good solution. There had to be a better way.
Luckily, I found displayplacer — a command line utility for managing display settings. It has so many options! I recommend checking them out, it allows easy switching between many display configurations, including Retina scaling modes. Let’s use that.
Installing displayplacer
Install displayplacer via Homebrew. If you haven’t installed Homebrew yet, follow the installation guide.
brew tap jakehilborn/jakehilborn
brew install displayplacer
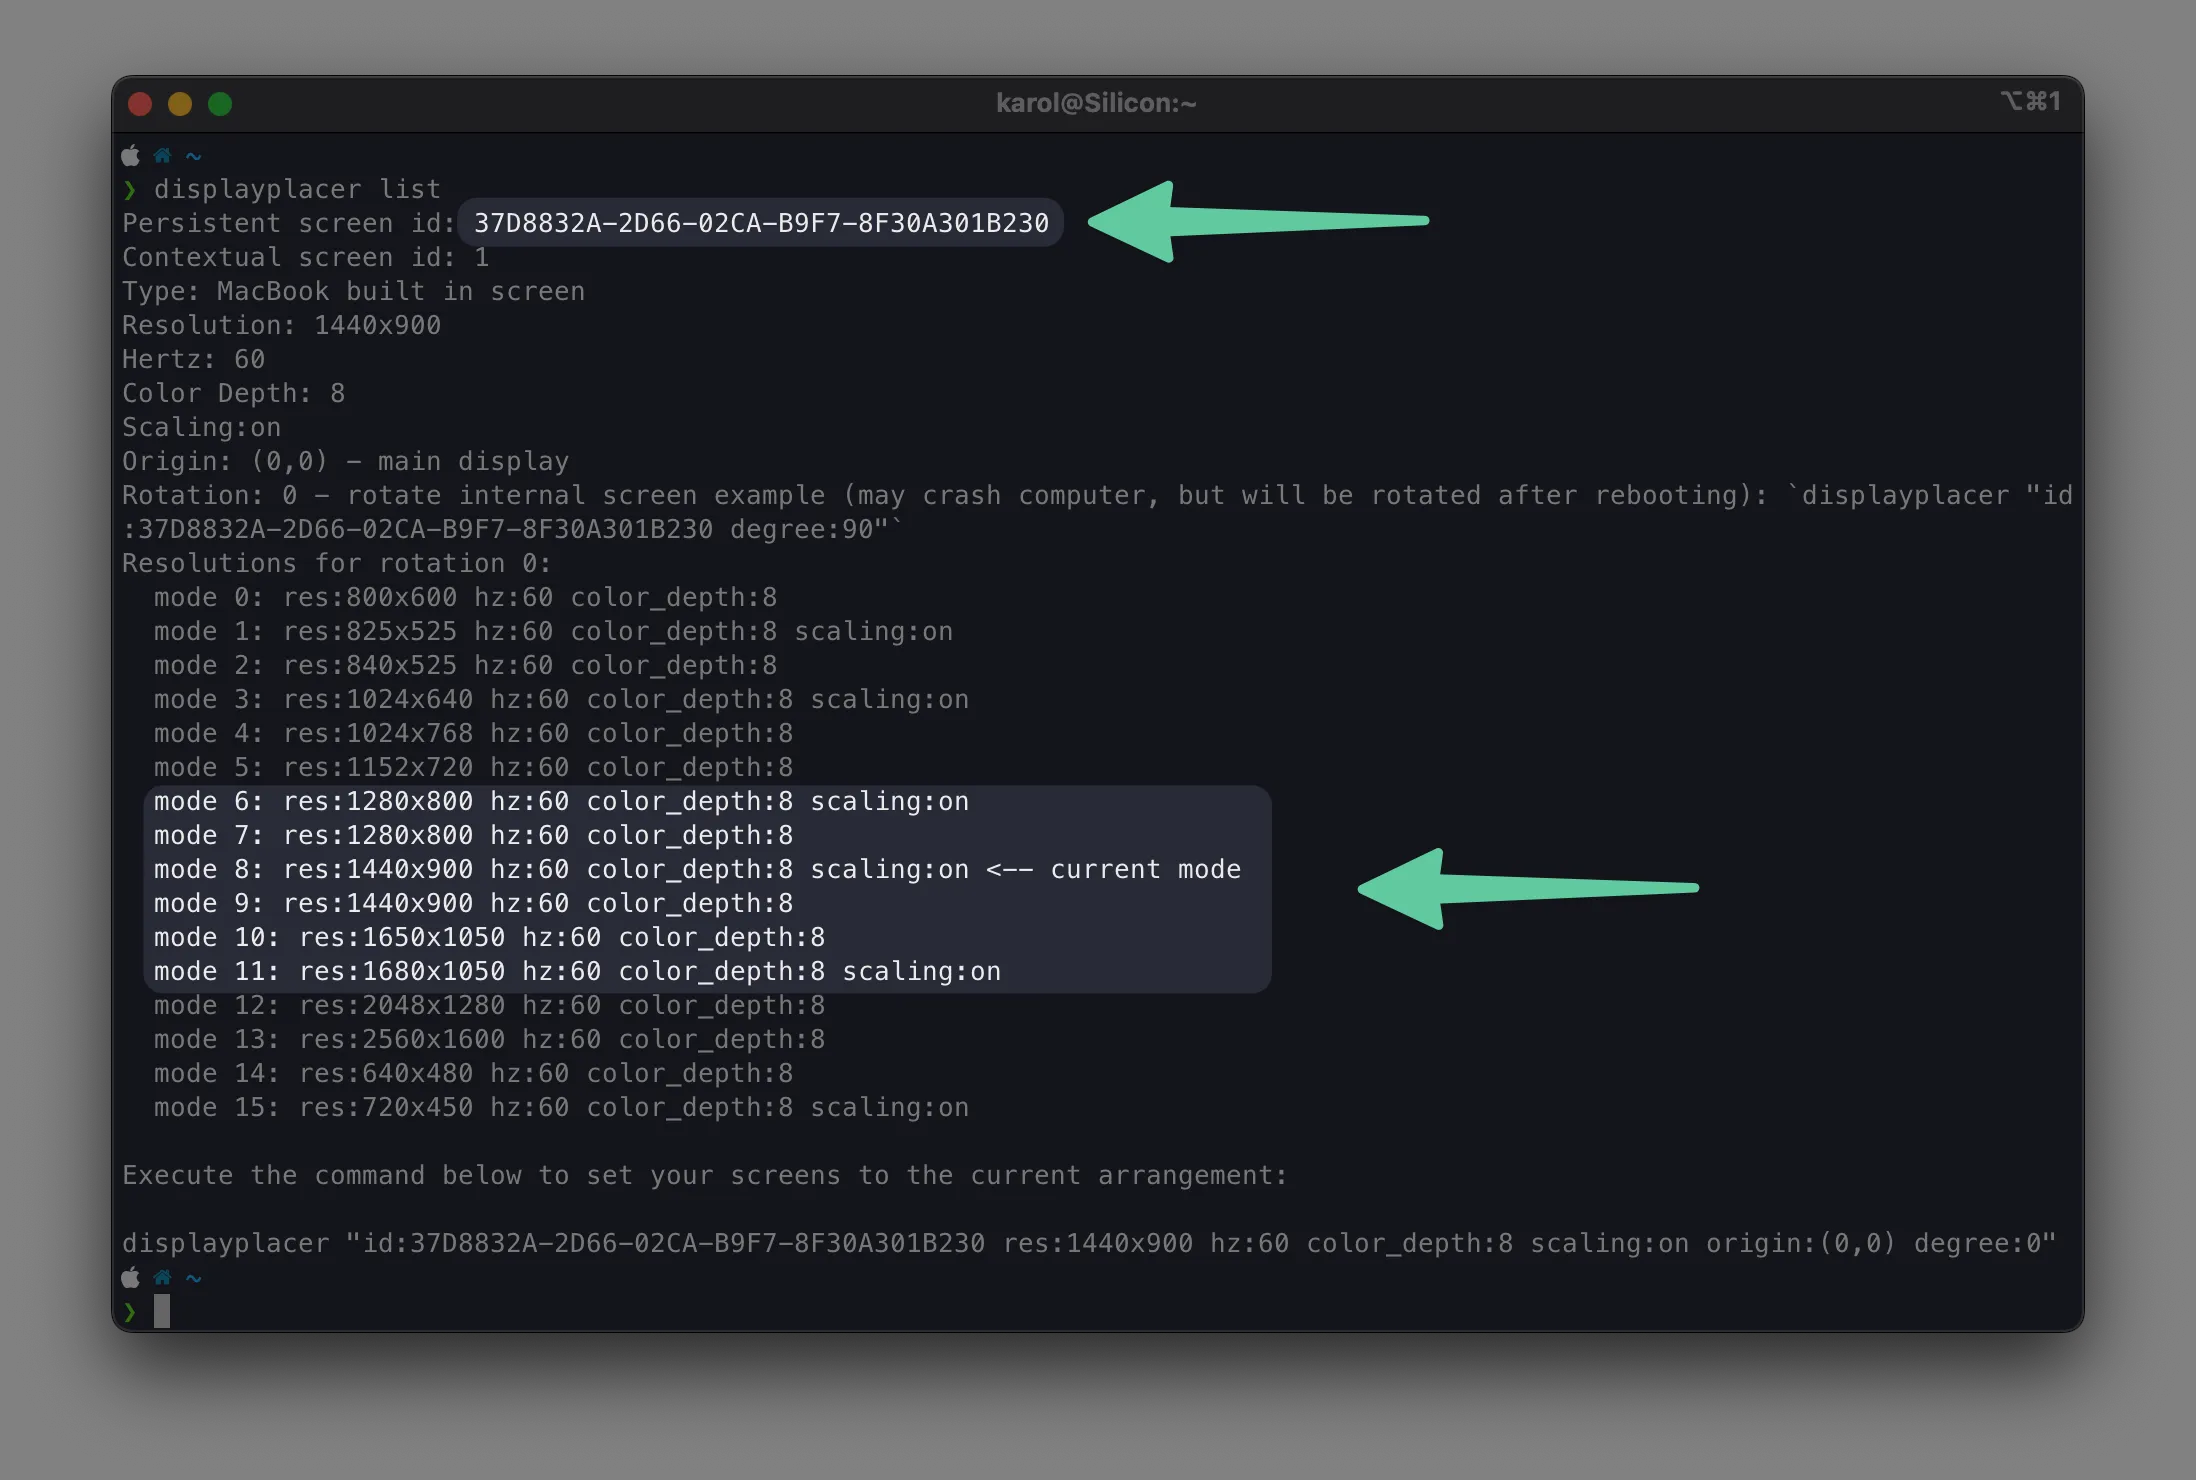
Now check all possible configurations:
displayplacer list
Look for two things: your MacBook screen ID, and display modes you want to use.
By running this command, you should be able to change the display configuration:
displayplacer "id:YOUR-SCREEN-ID mode:MODE_ID"
# e.g.
displayplacer "id:37D8832A-2D66-02CA-B9F7-8F30A301B230 mode:11"
In my case I wanted to switch between these two values of mode (numbers might be different on your machine):
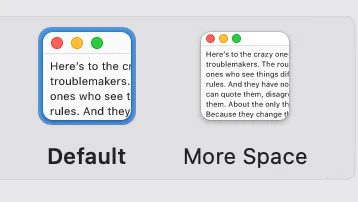
- Mode 8: “Default” (looks like 1440 x 900)
- Mode 11: “More Space” (looks like 1680 x 1050)
So if you want to change your screen scaling to “More Space”, run displayplacer "id:YOUR-SCREEN_ID mode:11".
Now, as we know the commands we want to run, let’s create a key mapping in Karabiner.
Creating key mappings in Karabiner
Download and install Karabiner-Elements.
Then open ~/.config/karabiner/karabiner.json with your favorite editor.
Find "rules": [] section and add our command:
"rules": [
  {
    "description": "Change retina scaling on ⌘ + control + 1 and ⌘ + control + 2",
    "manipulators": [
      {
        "from": {
          "key_code": "1",
          "modifiers": {
            "mandatory": ["left_command", "left_control"]
          }
        },
        "to": [
          {
            "shell_command": "/opt/homebrew/bin/displayplacer 'id:37D8832A-2D66-02CA-B9F7-8F30A301B230 mode:8'"
          }
        ],
        "type": "basic"
      },
      {
        "from": {
          "key_code": "2",
          "modifiers": {
            "mandatory": ["left_command", "left_control", "left_option"]
          }
        },
        "to": [
          {
            "shell_command": "/opt/homebrew/bin/displayplacer 'id:37D8832A-2D66-02CA-B9F7-8F30A301B230 mode:11'"
          }
        ],
        "type": "basic"
      }
    ]
  }
]
Remember to change screen ID to yours. This will map ⌘+Option+Ctrl+1 and ⌘+Option+Ctrl+2 to the two scaling modes.
If you want to learn how to use Karabiner Elements, check out the official documentation.
← Back to home